
Category Archives: Stuff My Kid Eats
 I like my pasta the way I like my wine, red and with a 12% ABV.
Cold Szechuan Noodles with Chicken

Boston is under siege! A couple weeks ago an oppressive wave of heat and humidity descended upon the city sending our “feels like” temperatures into the triple digits. I know, I know, I should feel bad complaining about this having lived in New York, DC, and Kansas where the air is soupy enough to swim in come August, and in Texas where the dry, scorching heat will melt the skin off your face most months out of the year. But I’m a Northerner now, and us Yanks just can’t handle the heat. Continue reading
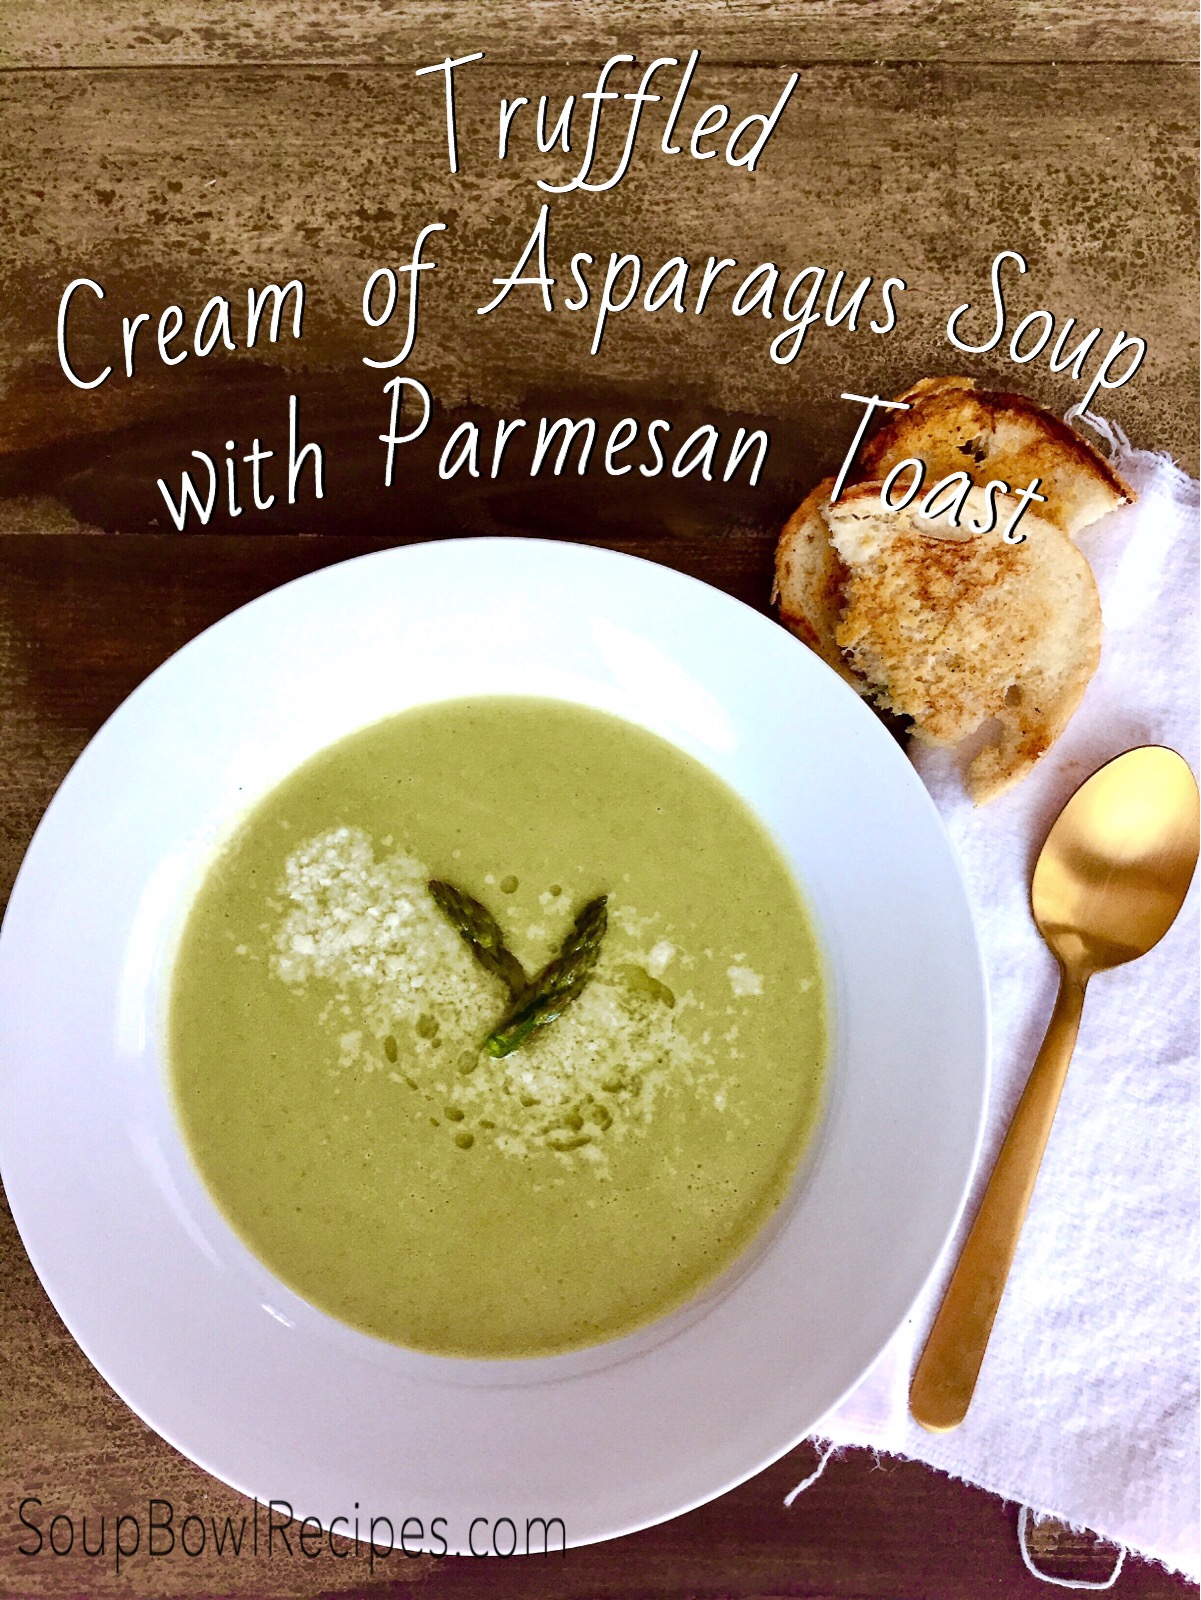
Truffled Cream of Asparagus Soup with Parmesan Toast
My husband and I just recently returned from a house-hunting trip to Boston in anticipation of our upcoming move in July. When we left Dallas, our fellow Texans were enjoying a typical Southern spring with temperatures in the 80’s and weekends spent lounging by the pool and grilling in the back yard. You can imagine our shock when Continue reading
Toad-in-the-the-Hole over Sautéed Kale, Bacon, and Leeks

Okay, so let’s talk about the name of this dish for a second. Toad-in-the-Hole is not only a somewhat unappetizing title, but it’s also historically inaccurate. This British dish became popular in the early 18th century and was traditionally made with sausages baked into Yorkshire pudding, giving it the look of a toad poking it’s head out of a hole. But somewhere along the way us sneaky Americans took that dish, changed it up, and made it our own; very much like driving on the wrong side of the road, scrapping the metric system for the super confusing Imperial system, and removing the “e” from the ends of words like theater (this one actually makes sense, “theatre” should be pronounced thee-ah-trey, should it not? I think we’ve got you on this one, Brits.). Soooo…in our quest to gain independence from England and establish ourselves as a new nation, we swapped the sausages for eggs and the Yorkshire pudding for toast, and Bam! we instantly became leaders of the free world. Okay, maybe it didn’t happen exactly that way, but close enough.
Continue reading
Rosemary & Garlic Brined Pork Chops

Brining, for those of you who have never heard this term before, is the process of steeping food in a saltwater solution, thereby locking in moisture and a crazy amount of flavor. You see, meat typically loses about 30% of water when it’s cooked, but when it’s soaked in a brining solution for the better part of the day, it’s able to absorb extra water into the muscle fibers, building up a reserve that is retained during cooking. Now, when you add seasonal aromatics (rosemary, garlic, and peppercorns) to the mix, you’re simply ensuring that those flavors will be imparted into the meat as well. Brilliant, right? So how do you get such wonderfully juicy and flavorful pork chops, you ask? Simple! Just follow this 4-step cooking process thought up by the brilliant minds over at Bon Appétit. Seriously, these pork chops are no joke, people! Yes, it does take 4-steps (only three of which are actual cooking though) to achieve this juicy goodness, but I guarantee that this will be the most delicious meal you’ve made in forever! And I promise that if you take the time that this hands-on method requires , I’ll reward you with super easy, super fast recipes for the rest of the week. Deal? Continue reading
Chicken in Parchment

The other night I made one of my all-time-favorite weeknight dishes, Chicken in Parchment, and I thought, Holy cow! This is a super easy, super delicious, super healthy meal — why haven’t I shared it with my readers yet?! And the answer is…I have no idea, because it’s totally something you guys will love. The only special element this recipe requires is parchment paper, which many of us have in our kitchens anyway, and a some mad scissor skills (but if you can cut a paper heart, your golden!). Honestly, this is the most flavorful and healthy way I’ve found to cook white meat. You see, baking the chicken (or fish, which I’ll post next week) in parchment packets, with just a trace amount of liquid, allows you to steam the meat in it’s own broth, making it really moist and tender — kind of like a personal sauna for your chicken. Continue reading
Stuff My Kid Eats: Smoked Salmon and Cream Cheese Frittata

As promised, here’s another creation from my Mother’s Day smoked salmon gift, this time coming to you in the form of a frittata. I just recently started making frittatas again after a couple year hiatus. I used to make them once a week when my husband and I were first married and had very little money. We called them “Frittata Fridays” because by the end of the week we’d be out of groceries, out of cash, and out of creative ides for dinner. The only thing we’d have left in the fridge were some eggs (which we somehow always had plenty of), a leftover piece of chicken or a few uneaten shrimp, and a couple of sad looking veggies in the crisper. Tired and discouraged, I’d whip everything up, throw it into the oven, and 20 minutes later we’d be sitting down to eat. Now no longer poor, (although still tired and sometimes discouraged), my love for frittatas was renewed when my daughter became a toddler. Her obsession with eggs (fried, scrambled, hard boiled, you name it!) made me want to cook up this old favorite and share it with her. I guess distance – and a picky toddler – makes the heart grow fonder. Continue reading
Stuff My Kid Eats: Beet Risotto
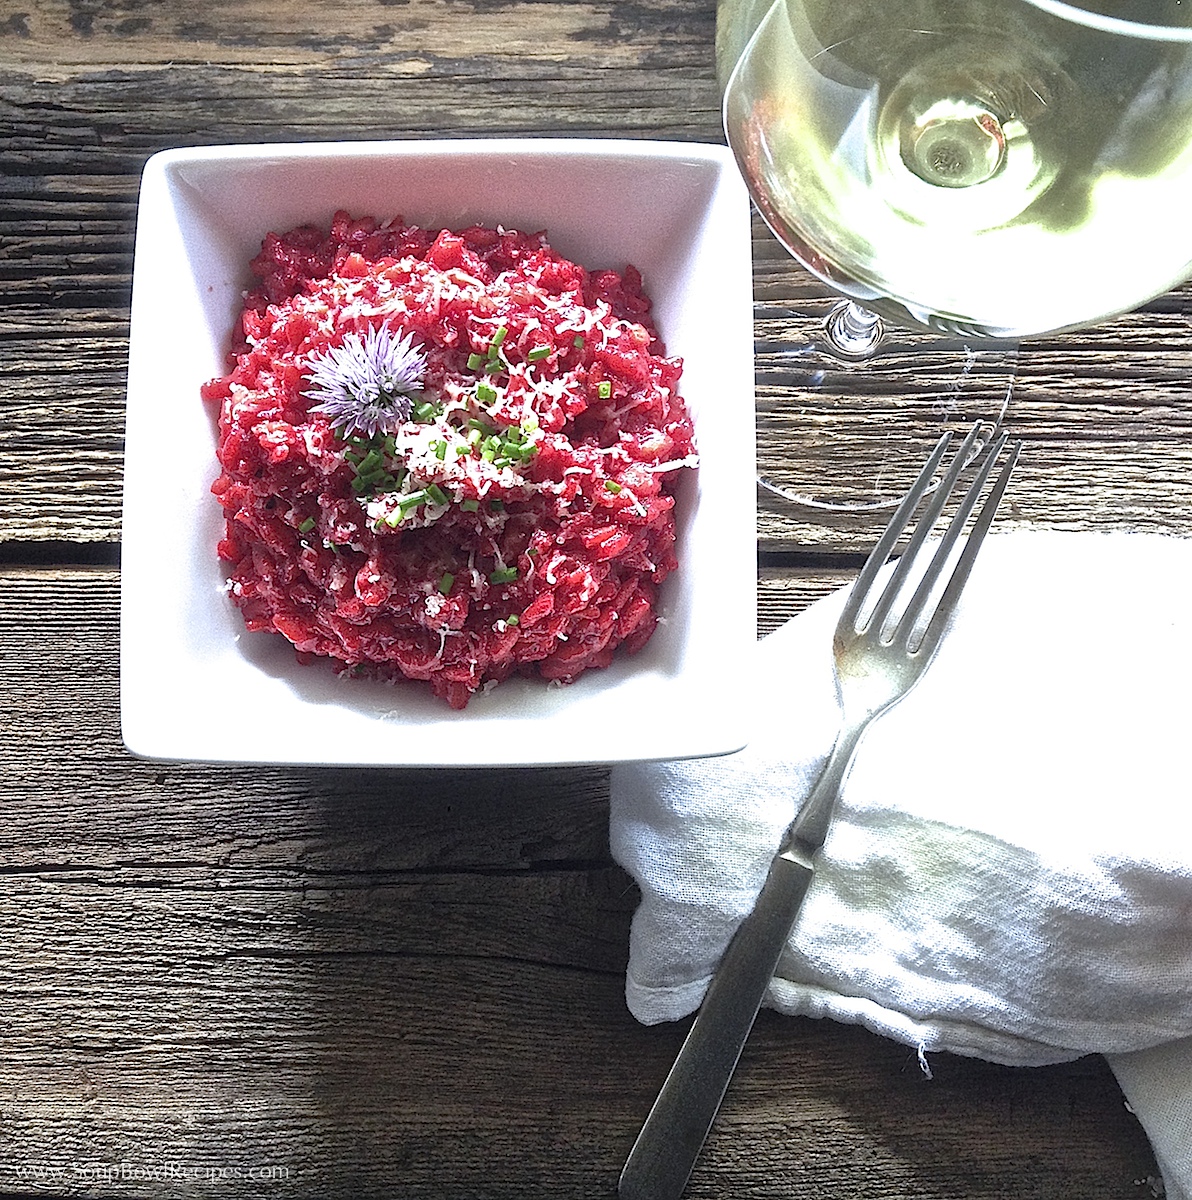
Beets are one of those things that people either love or hate, kind of like boy bands or the Twilight series. I, for one, am definitely in the “Team Beet” camp, and so is my toddler. I don’t know what it is about them, but they just scream summer to me. Maybe it’s because their smell reminds me of cut grass, or their bright color is worthy of a beach ball, but as soon as the weather starts getting warm, I crave them in my salads and pastas. I served this beet risotto to my family last week and when my toddler saw the colorful rice she said, “Oh Mommy, I’m going to eat all of my dinner tonight!” — and she did.
Beet Risotto
Serves 4
- 1 cup uncooked Arborio rice
- 3 Tbsp. olive oil, divided
- 2 Tbsp. unsalted butter
- 1 shallot, minced
- 2 cloves garlic, minced
- 4 cups fish stock, or chicken or vegetable stock (see recipe in Homemade Stocks)
- 1 roasted beet, coarsely chopped (*see How To)
- Kosher salt
- Fresh cracked black pepper
- 4-5 chives sprigs, chopped
- Fresh grated parmesan cheese for serving
In a food processor or blender add beet and 1 Tbsp. oil and blend until smooth, set aside.
In a saucepan, bring stock and wine to a low simmer. Meanwhile, over medium-low heat, melt butter and oil in a large straight-sided skillet until bubbly. Add shallots and cook until tender, about 3-4 minutes. Add risotto and garlic and cook for 1 minute, stirring occasionally.
Using a large soup ladle, pour 1 ladle-full (about ½ cup) of stock into risotto and stir until liquid is absorbed. Gradually stir in remaining broth 1 ladle-full at a time, cooking and stirring until liquid is absorbed before adding the next ladle. Continue this process until all but 1 ladle-full of stock has been used, approximately 25-30 minutes. Add the last ladle of stock with puréed beet, stir, then reduce heat to low and cook for 5 minutes, covered. Uncover and stir until all remaining liquid has evaporated, about 2-3 minutes. Season with salt and pepper, and garnish with a sprinkle of chives and grated parmesan.

*How to Roast a Beet:
Preheat oven to 350°F. Scrub beets clean, then wrap in tin foil. Place in oven and roast for 1 hour, or until easily pierced with a fork. Let cool, then peel with a vegetable peeler. Cut into ¼-inch cubes. Set aside. (I always roast about 3-4 beets at a time, then freeze the extra in a resealable plastic bag to use later, like in my Creamy Roasted Beet Soup.)
Tip: Beets can stain hands, clothing, cutting boards, and light-colored sinks and countertops. To avoid turning everything in your kitchen red, wear cooking gloves while handling beets, and peel over an open plastic bag set in the sink.

Sidekick: Serve with a chilled glass of Riesling, Chablis, Rosé, or Pinot Blanc.
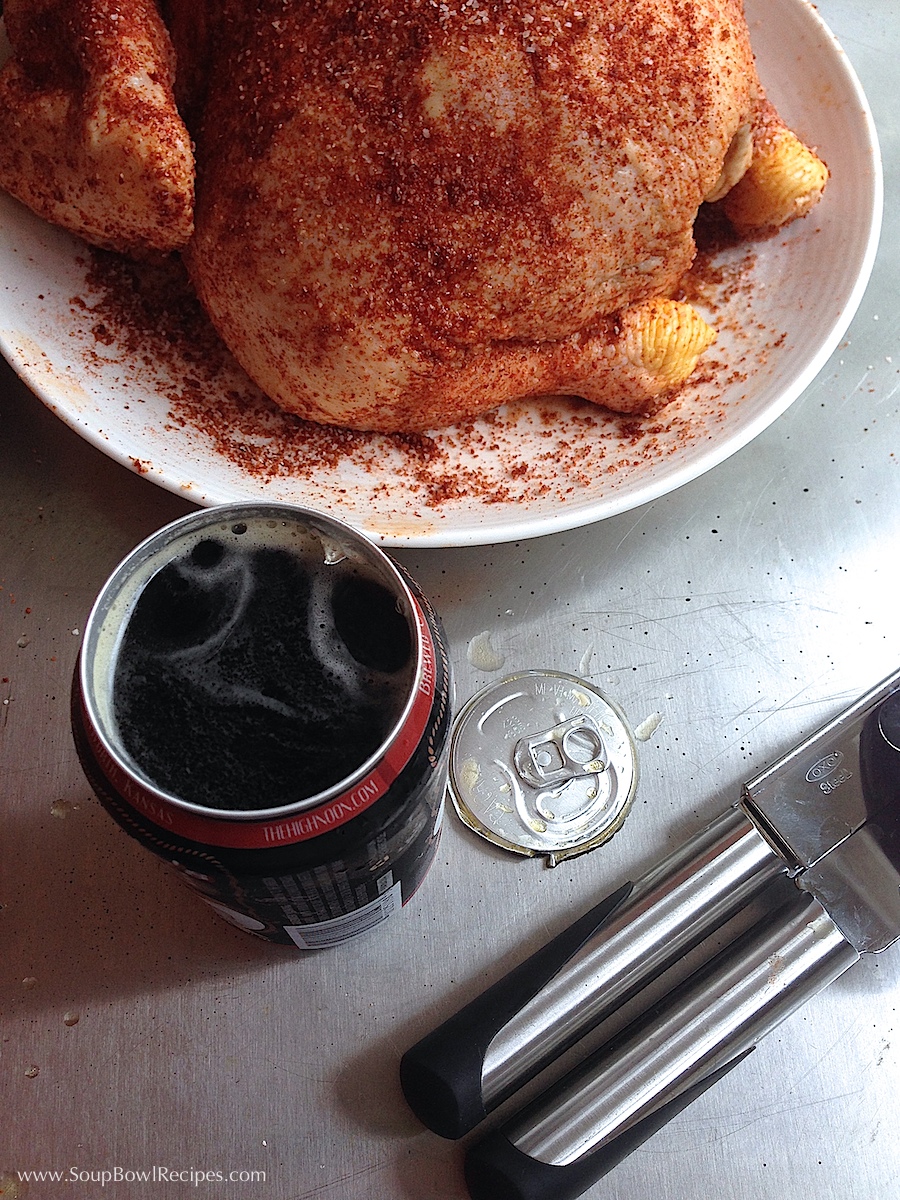
Stuff My Kid Eats: Beer Can Chicken with Grilled Asparagus & Avocado
 Now here’s a chicken that has `Merica written all over it: cajun spices, a grill, and beer – not to mention the crude jokes that will inevitably follow once you shove the beer can up it’s…well, can, for lack of a better term. But cooking the chicken this way provides more than just a good laugh, it keeps the meat moist and raises the bird up off the fire allowing the skin to get nice and crispy it without burning or sticking to the grate.
 This is me last summer with my first attempt at beer can chicken, and since then I’ve cooked close to two dozen of these tasty hens. It took me a few tries to fine tune the spice rub and perfect the cooking method, and in doing so I had to eat pounds and pounds of delicious meat. It’s a dirty job, but someone’s got to do it. You’re welcome. And an unforseen bonus to my family’s repetitive poultry consumption is that this chicken quickly became my toddler’s favorite meal. When I pull the bird out of the fridge in the morning to start brining it, she’ll do her little happy dance (a combination of clapping and jumping) and sing, “It’s the yummy chicken! We’re having the yummy chicken!” (As opposed to all the other non-yummy chickens I make her eat.) And even better is when I put the can inside the chicken and she asks, “Why are you putting soda in his tushy, Mommy?”
Beer Can Chicken
Serves 4-6
- 1 5-6 lb. whole chicken, neck and gizzards removed
- 1 12oz. can of beer, a lager or amber works best (and if you’re able to get your hands on a local brew, even better!)
- ½ cup Kosher salt
- ⅓ cup brown sugar
- ¼ cup sweet paprika
- 2 Tbsp. cayenne pepper (And don’t skimp on the cayenne, I swear it doesn’t make the chicken too spicy)
- 1 tsp. cinnamon
- ½ tsp. garlic powder
- 4 cloves garlic, crushed
- 13×9-inch disposable tin baking dish
- 1 gallon resealable plastic bag
To make the brine and spice rub, combine salt, sugar, and all spices (but not garlic cloves) in a large bowl and mix with a fork.
Place chicken in a plastic bag set inside a bowl big enough to hold it. Set aside. (Folding over the edges of the bag makes it easier to pour in the brine.)
In a medium sauce pan, bring 4 cups of water to a boil. Reduce heat to low and add garlic cloves and ½ of spice mixture, about ¾ cup (reserve remaining spice mixture to rub on chicken before grilling). Simmer, stirring occasionally, until salt and sugar have dissolved, about 5 minutes.
Remove from heat and add 2 cups of ice. Let sit until liquid has come to room temperature, it’s okay if the ice hasn’t melted all the way.
Using a large measuring cup, carefully pour brining liquid and garlic cloves into plastic bag with chicken until liquid almost reaches the top of the bag. Fold the edge of the bag back over and seal the zip lock. Place the bag and bowl in the refrigerator for 8-12 hours. (Brining the chicken is a key step in helping preserve its moisture and flavor under the high heat, so don’t skip this step, people! Seriously, it only takes about 5-10 minutes of prep time in the morning.)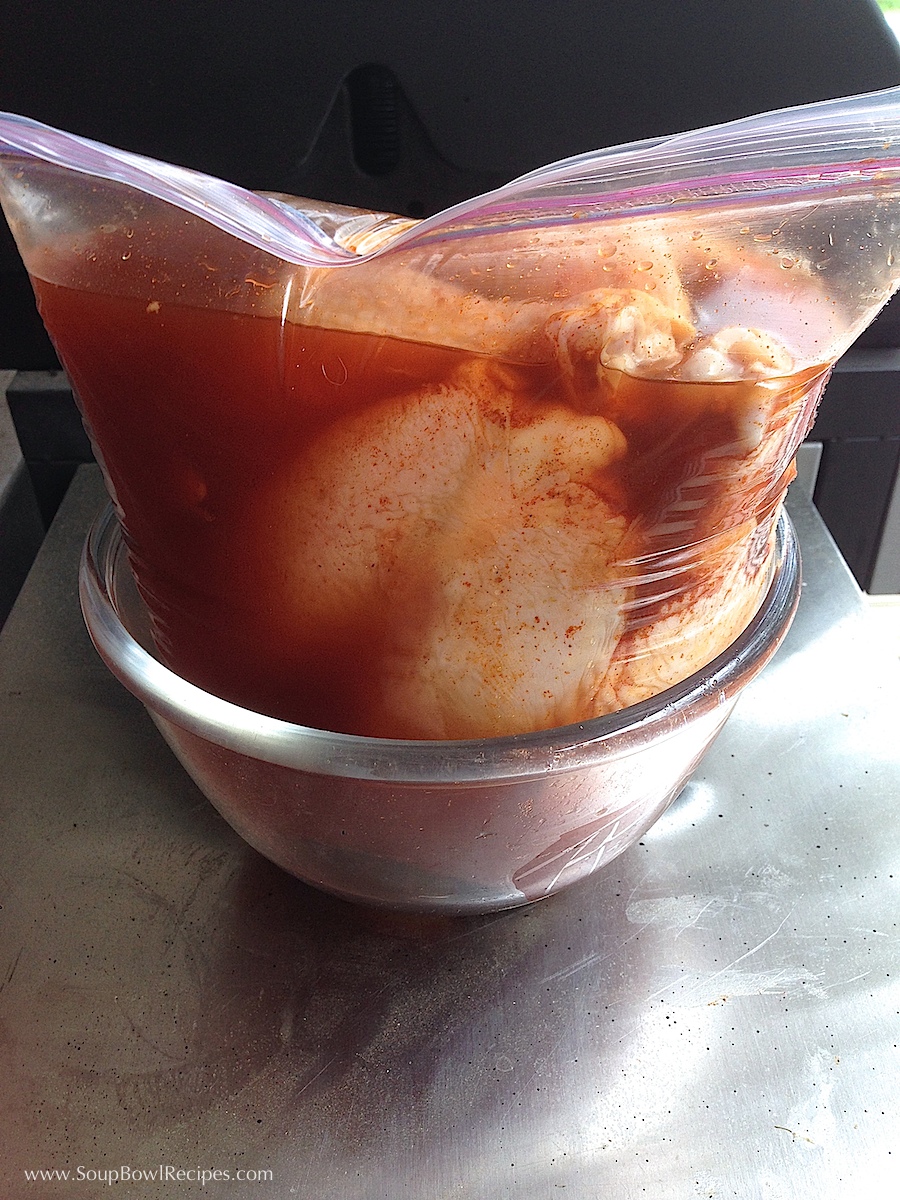
Once chicken has finished brining, remove from liquid and pat dry with a paper towel.
Rub the remaining spice mixture all over chicken, making sure to completely cover both sides, under wings, and in all the other cracks and crevices.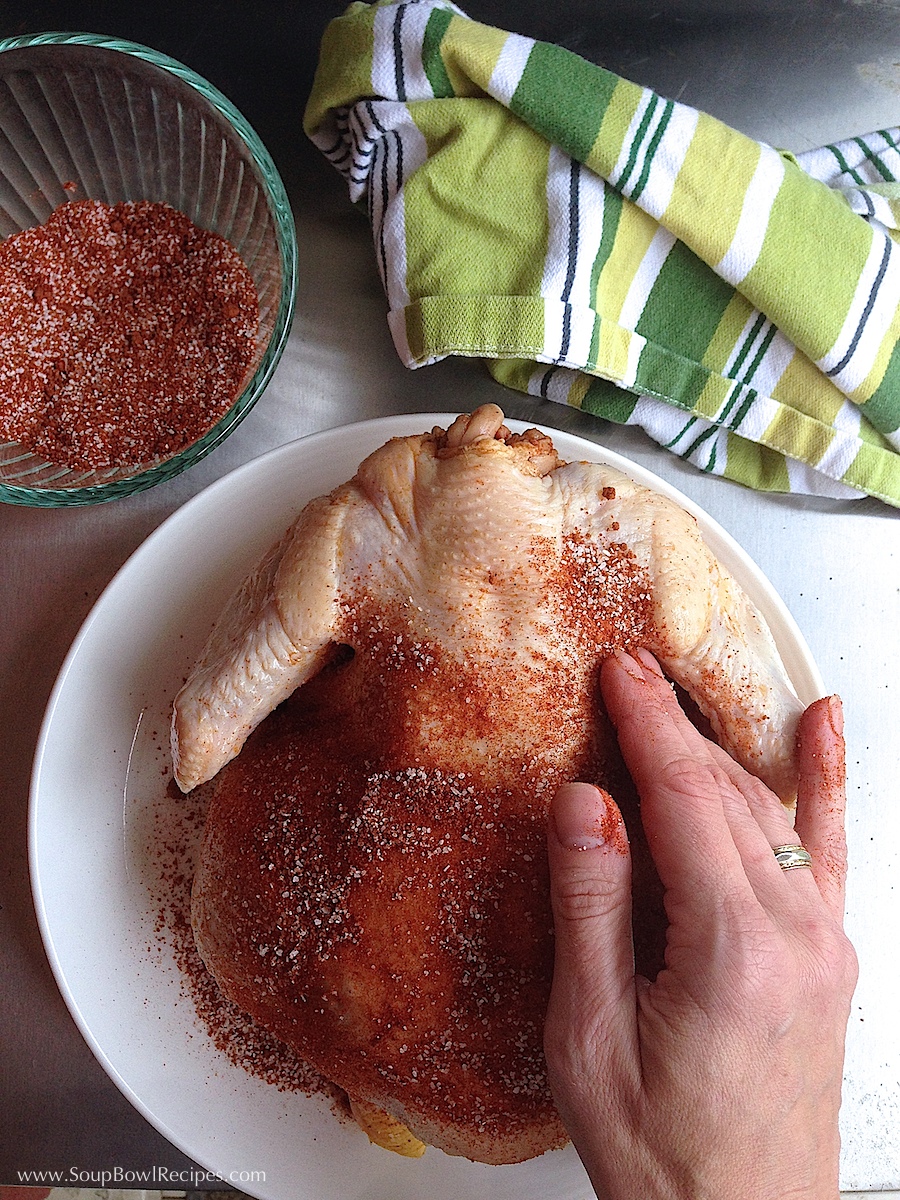
Prepare grill for high, indirect heat:
For a gas grill, lift the grate and place the disposable tin baking pan to one side of the grill, then fill the pan half-way with water (this will keep the drippings from starting a grease fire in your grill). Turn on all but 1 burner (the one under the baking pan). Replace grate. Close the lid and allow the internal temperature to reach 350-400°F before cooking chicken.
For a charcoal grill, lift the grate and push the coals to one side of the grill, baking up the side, and place a disposable tin baking pan on the other side. Fill the pan half-way full of water, then light coals and replace grate. Close lid and allow the internal temperature to reach 350-400°F before cooking chicken.
 {Note: If you have a top warming rack like is pictured here, you’ll want to remove it otherwise it will knock the chicken over when you try to shut the lid. Which is a big mess. Just trust me on this one.}
Meanwhile, use a can opener to remove the top of beer can and pour out ½ of the beer into a glass. (I strongly advise drinking the extra beer before proceeding.) {In case you were wondering, I didn’t suddenly grow hair on my knuckles, these are my husband’s incredibly masculine hands.}
Slide the ½-full beer can into the cavity of the chicken, legs pointing down (now here’s where the jokes start).
Carefully place chicken and can on the indirect portion of the grill over the drip pan. You may need to position the legs like a tripod to stabilize chicken. Close the lid and cook.
Okay, so every chicken recipe I’ve ever run across says, “Cook chicken until an instant-read meat thermometer inserted into the thickest part of the thigh reads 165F.”
That’s fine, however, I’ve found that the chicken isn’t always cooked through when I rely on this method, so in addition to inserting a thermometer into the thigh, I also insert one in the top of the breast, like so… If the temperature here also reads 165°F, then you’re good to go. With a 5-6 lb. chicken, cooking at 350-400°F, and a train leaving Station A at 6 o’clock, this will take about 45-65 minutes. (If using charcoal, you may need to add more to maintain heat.)
Transfer chicken to a plate and allow to rest for 10 minutes before carefully removing the beer can and carving. (Don’t dump the beer just yet, because if you slice into the chicken and it’s not quite done, you’ll want to pop it back on the can and put the whole shebang back on the grill a little while longer until cooked through.)
Sidekicks: Serve with beer, of course, and a couple of these grilled sides. While the chicken is resting, throw these veggies onto your hot grill and everything will be ready at the same time. Brilliant!
Lemony-Garlic Asparagus The acidity of the lemon and the sweetness of the asparagus are an excellent counter to the slightly salty, slightly spicy chicken. And the garlic? Well, I added that just because I love garlic.
Lemony-Garlic Asparagus
Serves 4
- 1 bunch of asparagus, tender parts only
- 3 Tbsp. unsalted butter, melted
- 1 clove garlic, minced
- juice of 1 lemon
- Kosher salt and fresh cracked pepper to taste
In a small bowl, combine butter, garlic, and lemon juice. Whisk until combined. Line a grill tray with a piece of tin foil (you don’t want all those delicious juices to be lost to the fire), and place asparagus on foil in a single layer. Drizzle with butter mixture and season with salt & pepper.
Place basket on grill set to high heat, close lid and cook for 2-3 minutes or until crisp-tender and the tips start to brown. Transfer to a plate and serve immediately.
Grilled Avocados with Salt and Lime Now I like guacamole as much as the next gal, but this is hands down my favorite way to eat an avocado — and it’s probably the easiest side dish in the history side dishes. (Recipe slightly adapted from Bon Appétit)
Grilled Avocados with Salt and Lime
Serves 4-6
- 2-3 ripe avocados, halved with pit removed
- 1-2 Tbsp. olive oil
- 4-6 lime wedges
- Kosher salt to taste
Brush each avocado half with oil, and mist the grill grate with high heat cooking spray. Place avocados flesh-side down on a grill set to high heat. Cover and cook for 3-5 minutes or until avocado easily lifts from grate and has sear marks. Serve with a squeeze of lime and a sprinkle of salt.
Stuff My Kid Eats: Roasted Cauliflower and Goat Cheese Frittata
Stuff My Kid (Mostly) Eats

Now before you go saying: “Whaaaaatever! There’s no way her toddler eats that! My kid would never eat roasted cauliflower!” Well, she didn’t, not technically. She ate the entire slice of frittata that I gave her, yet somehow managed to ferret out every little piece of cauliflower in it. At the end of the meal, there was a very sad looking pile of mutilated white stuff at the edge of her plate which she pointed to and firmly said “NO!” So there it is. That is my disclaimer. My kid doesn’t eat everything! At any rate, the meal was great, my husband and I loved it, and you could easily substitute the cauliflower for another vegetable that won’t cause a juvenile uprising at the dinner table. (Recipe slightly adapted from Fine Cooking.)
Roasted Cauliflower and Goat Cheese Frittata

The beauty of this dish is that the ingredients can be adapted to fit your taste, AND it works well for breakfast, lunch, or dinner!
Roasted Cauliflower and Goat Cheese Frittata
- 1 small red or yellow onion, halved and thinly sliced lengthwise
- 2 Tbsp. distilled white vinegar
- Kosher salt
- 2 cups cauliflower florets (about ½ small head), cut into 1-inch pieces, or 2 cups of another favorite vegetable
- 2 Tbsp. plus 2 tsp. olive oil
- Freshly ground black pepper
- 8 large eggs
- 2 Tbsp. chopped fresh herbs (oregano, thyme, parsley, dill, etc.)
- ½ tsp. whole-grain mustard
- 2 Tbsp. unsalted butter
- 6 oz. fresh goat cheese, crumbled, about 1 ½ cups, or 6 oz. of another cheese of your choosing (Oh, I just love alliteration!)
Position a rack about 6 inches from the broiler and heat the broiler on high.
Combine the onion, vinegar, and ½ tsp. salt in a small bowl; let sit for 10 minutes and then drain and pat the onion dry. Set aside.
Meanwhile, on a large rimmed baking sheet, toss the cauliflower (or another vegetable) with 2 tsp. of the oil, ½ tsp. salt, and ¼ tsp. pepper. Broil, tossing once or twice, until the edges are golden, 3 to 6 minutes.
Reposition rack in the center of the oven and set the oven to 400°F.
Whisk the eggs, herbs, mustard, ½ tsp. salt, and ½ tsp. pepper in a medium bowl.
Heat the remaining 2 Tbsp. oil and the butter in a 12-inch ovenproof skillet over medium-high heat until the butter melts. Add the onion and cook, stirring occasionally, until some of the pieces are dark golden brown, about 3 minutes. Remove the skillet from the heat, stir in the roasted cauliflower, and then slowly pour in the egg mixture, redistributing the vegetables evenly. Sprinkle the cheese on top and bake until the eggs are set in the center, about 10-15 minutes. Let rest for 5 minutes and then use a silicone spatula to slide the frittata onto a serving plate or cutting board. Slice into wedges and serve.

Sidekick: Serve with a crisp dry white wine like a Chablis, or an Italian dry white like a Soave or Gavi di Gavi.
