
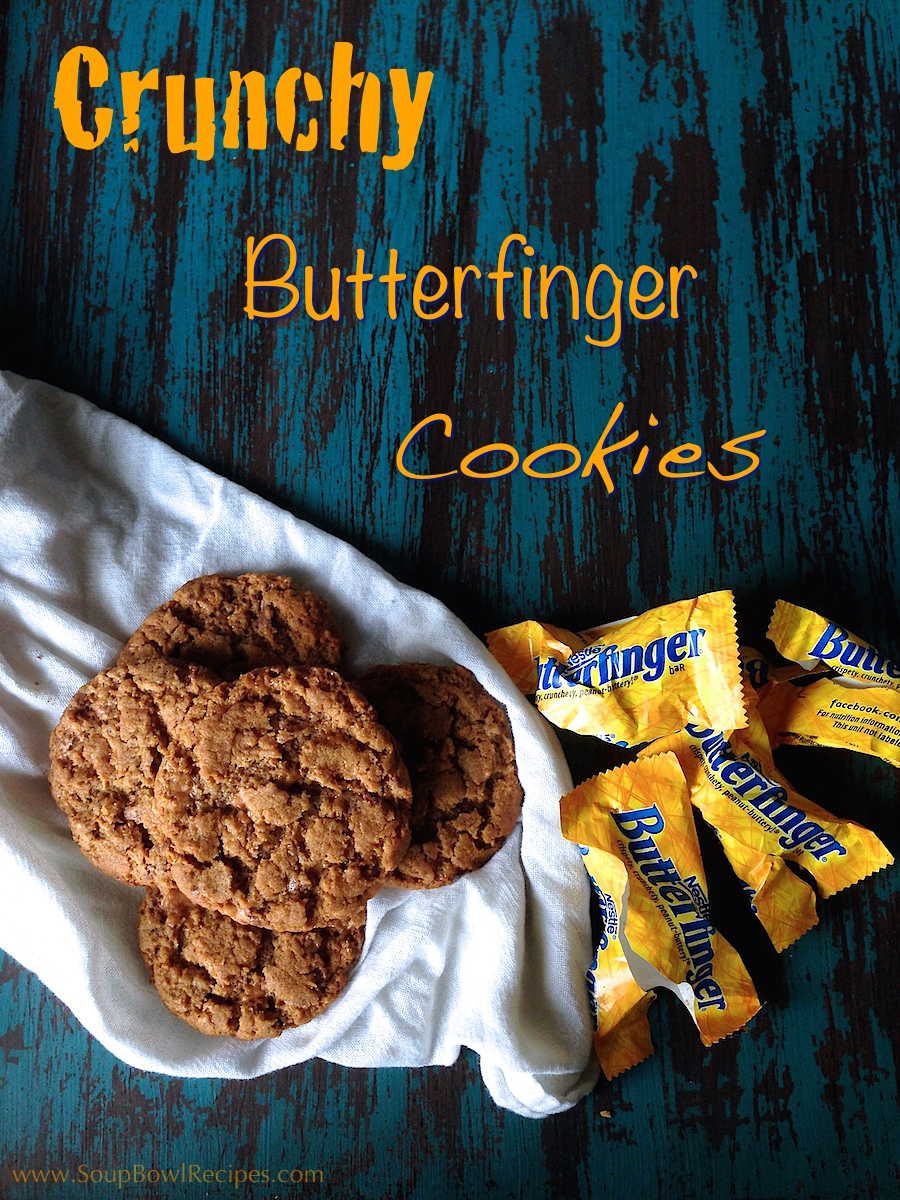
Happy Halloween, candy fiends! Before you and the kiddos embark on your day of rowdy parties, twilight trick-or-treating, and massive sugar consumption, I want to impart you with some knowledge. The quickest way to rid your house of excess Halloween candy is to bake it into cookies. That’s right folks, you know as well as I that every year we end up with gobs of candy that will take our little pirates and princesses weeks, maybe months, to get through (or eventually get toss out). Which is why I thought up a recipe that will put some of those confections to better use. These flourless peanut butter cookies are generously studded with hunks of Butterfingers and pack a candy-worthy crunch! Seriously, these guys are so good that your monsters won’t even bother with the Dum-Dums and Smarties in the bottom of their trick-or-treat bag.
Oh, and speaking of trick-or-treating, this year I have the distinct honor of escorting Anna (from the movie Frozen)…
 Joining us will be Anna’s friends Olaf and Sven, whom I’m certain I’ll be carrying by the end of the night.〖And in case you were admiring the costume, this magnificent ensemble was a gift from my Aunt Nance; a truly incredible seamstress and an all-around wonderful person.〗
Crunchy Butterfinger Cookies
Makes 24
- 1 cup smooth peanut butter
- ½ cup granulated sugar
- ½ cup dark brown sugar
- 1 tsp baking soda
- 1 egg
- 10 Fun Size Butterfinger bars, refrigerated for at least 30 minutes (this is about 3½ Original bars or 3 King Size bars)
INSTRUCTIONS:
Preheat oven to 350°F. Place unwrapped Butterfingers in a resealable plastic bag and, using a meat mallet or rolling pin, crush candy. (Butterfingers are very brittle, so your pieces will range in size from sand to grapes; this is fine, we like variety.)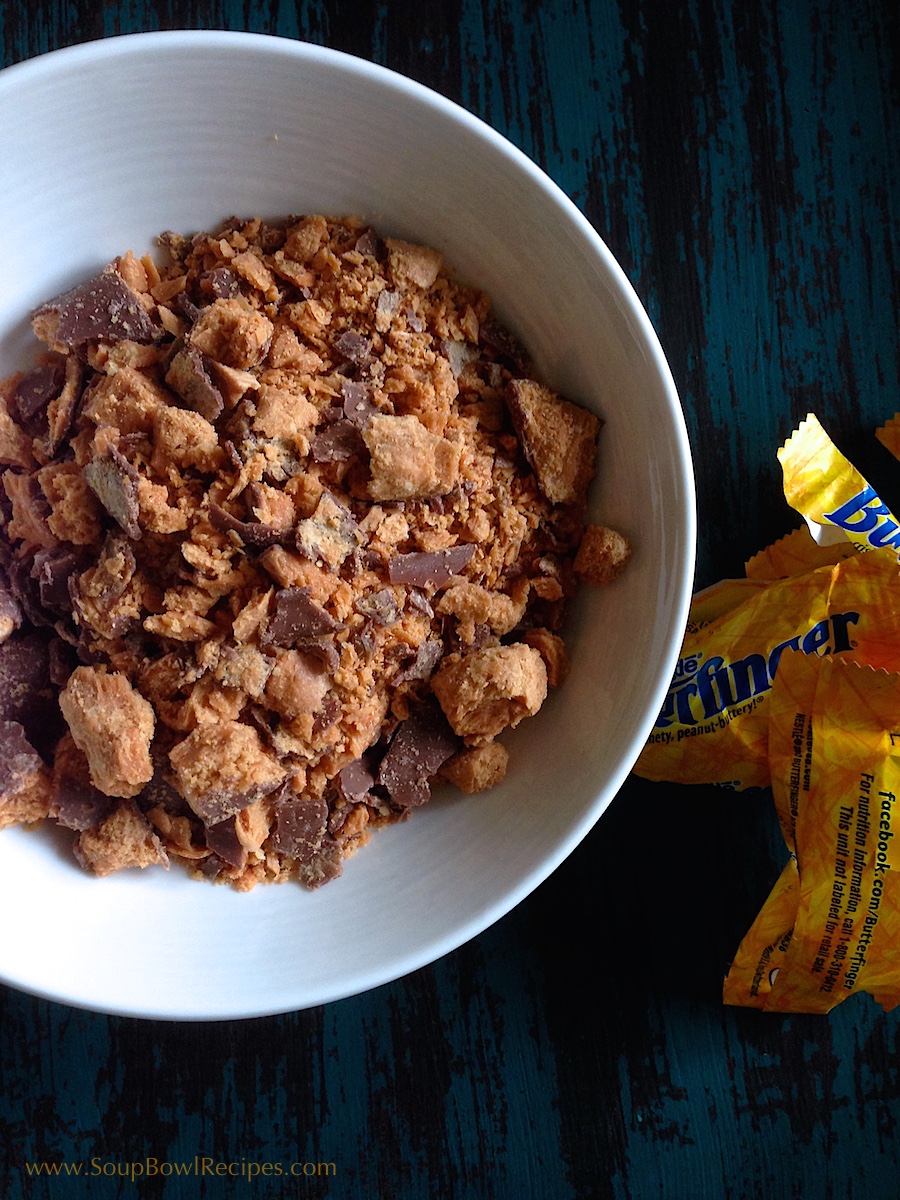
In a medium bowl, cream together all ingredients except the Butterfingers. Once the mixture is smooth, fold in candy pieces until they are fully incorporated into the batter. Line two baking sheets with parchment paper or silicon baking mats. Scoop out a rounded tablespoon of dough and form it into a ball with the palm of your hands. Place dough balls on baking sheet, spacing 2-inches apart to allow for spreading.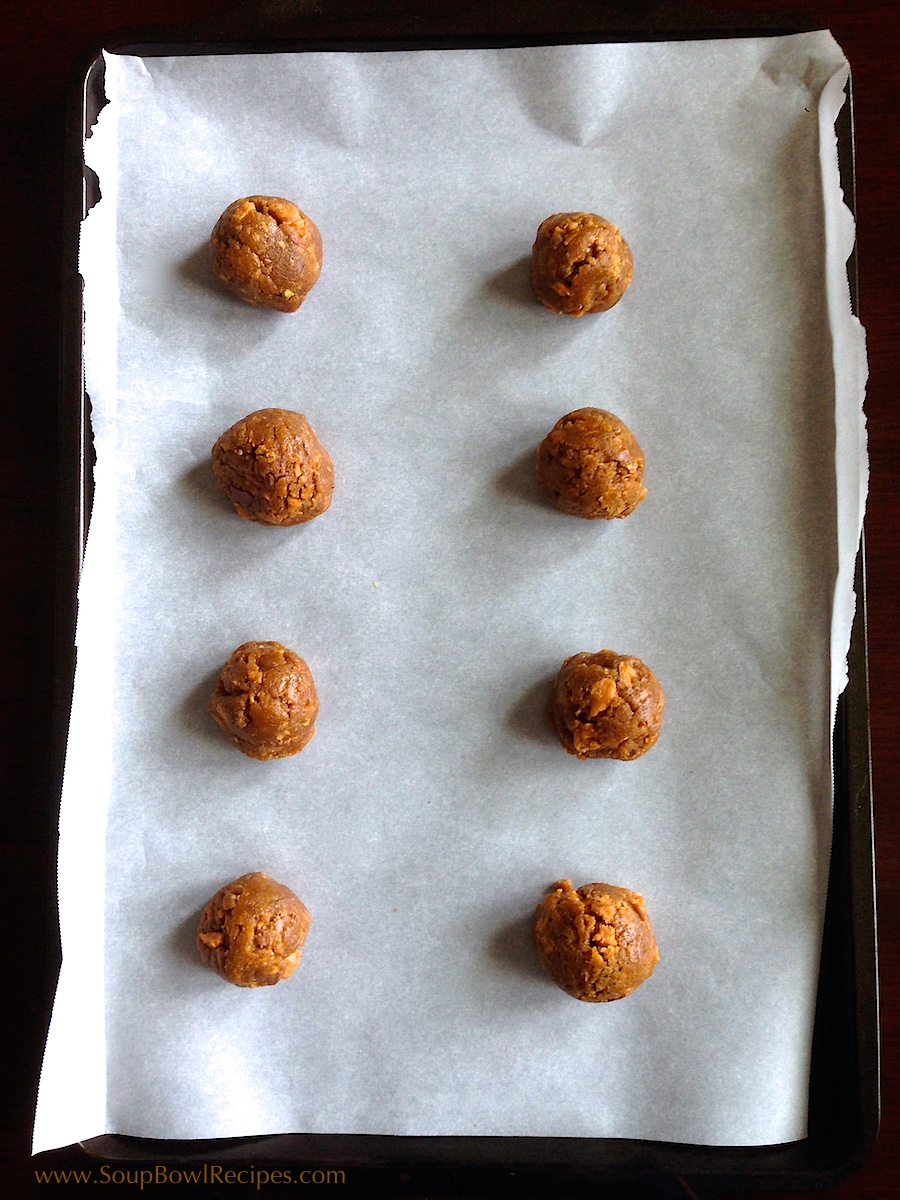
Bake cookies for 12-13 minutes, switching the sheets from the top to bottom rack halfway through. Remove cookies when they just start to brown on the top. The cookies will still be soft when they first come out of the oven, so allow them to rest on the baking sheet for 2-3 minutes before transferring to a cooling rack (they will continue to harden and become crunchy as they cool, about 10-15 minutes).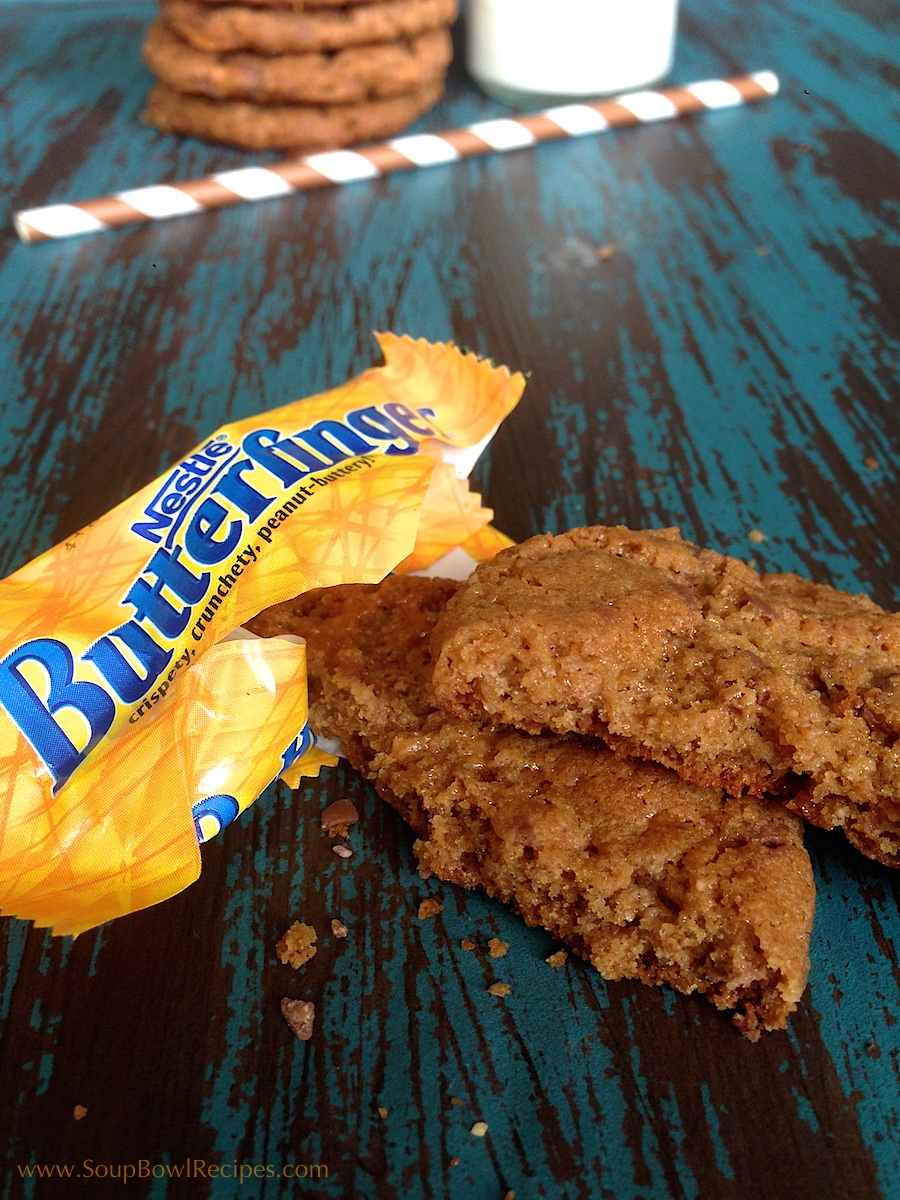
Sidekick: This may be obvious, but serve with milk.
